Zooty Owl's Crafty Blog

Colourful Crochet, Craft, Cooking, and Contemplations

Friday 30 November 2012

Snowman Gift Tag

Still playing around with recycled bits in between making some bead jewellery.

Living in South Africa we will not see a single snowflake over Christmas (unless our weather turns even freakier) - but I have made a few snowflake and snowman cards anyway!

This one is super easy to make.    Cut two small circles (the lid of a large and medium glue stick work quite nicely!) from white card.    Cut a hat shape from black card (I have used darker kraft card) and a carrot shape - for the nose - from orange card.   Cut a wavy strip from turquoise card.  Tie a knot in a short piece of ribbon for the bowtie.

Layer up as shown, draw the snowman a face and stick arms, doodle some snowflakes and a border at the bottom of the tag to finish:

Snowman Gift Tag

Thursday 29 November 2012

Gift Tags - Upcycled Materials

One of the things I love most about crafting is that one never runs out of materials that can be upcycled.    There is always something that can be salvaged from packaging, gift wrapping, floral arrangements, etc.
 
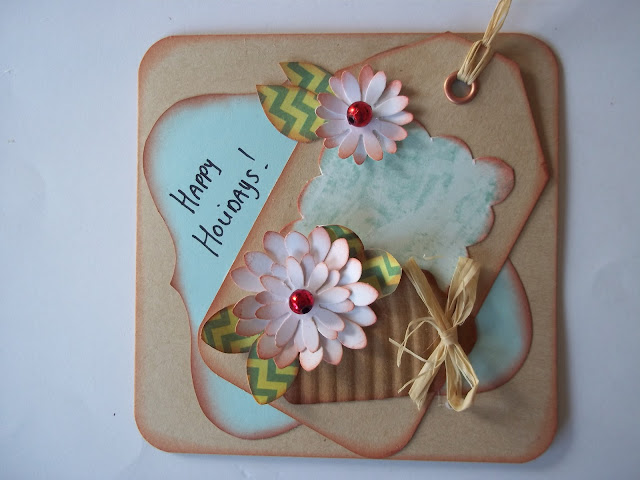
My hubby bought a few new shirts and they were folded around some very nice brown card.  My daughter was given a lovely arrangement of miniature sunflowers in a pretty cardboard box.   The ribbon handles were salvaged for the bow on the Christmas wreath I made for my mom.   I also salvaged the raffia tied around the box, and decided to use the cardboard and raffia to make some gift tags.    I punched some flowers in two different sizes, cut out two sizes of tags (one large and one much smaller) as well as as hearts and scalloped squares.   There were some punched buttons left over from a bulk make of Christmas cards.

Gift Tags
 
I layered all of these materials up and this is the result!

Gift Tags
gift tags

You could use the tag as is, or use it as a topper for a card.

Cut a 10cm x 20cm rectangle from the shirt packaging, fold this in half to make a 10cm x 10cm card blank.   Add another layer and some extra leaves and finish with a handwritten sentiment:

Recycled Packaging Cards

Cut a 14cm x 20cm rectangle from the shirt packaging.   Fold in half to form a 10cm x 14cm card blank.    Cut a 14cm x 12cm piece of gift wrap or any patterned paper.    Cover the card blank, overlapping 2cm over the fold.  Add a few more blooms and a handwritten sentiment.

Gift Tags

Happy upcycling!!

Christmas Cards & Wreath

I haven't had time to go shopping for stash yet, having too many non-papercraft projects on the go.   I did have to go to the supermarket to stock up, however - bought a few magazines too.    One of the mags came with a lovely freebie - a Christmassy paper pad and chipboard shapes.   I managed to get in a few quick makes between all the other crafting:

Christmas Cards

Inevitably I was left with a pile of scraps - used them to make a Christmas wreath for my mom.   I thought I had better make her one too, otherwise I would be in trouble with a "why didn't you make me one??"  My sister loves it, so I guess that means I will have to make her one too...

Christmas Wreath


Monday 26 November 2012

Christmas Pudding Gift Bag and Card

Just a quick pic to show you how I have used the Christmas Pudding on a gift bag and a 12cm x 12cm card!

 .

Christmas Pudding Gift Tag


I finally got started on my Christmas Gift Tags

This Christmas Pudding tag is made using the same technique as for the Baubles.    In this case however you just use much smaller circles.   I have used Kraft card to make the pudding,  but any brown paper or a recycled paper bag will work just as well.


Cut five small circles.    Join as for the  Baubles, but do not close once you have added the last circle.   Cut three "holly" shaped leaves.     Arrange the leaves on your tag.    Glue the pudding down and add two red beads to finish.    If you do not have beads,  little red buttons or a few dots of red glitter glue would also do.

This little pudding can also be used to decorate your gift bags to match the tag.    I have even made one or two Christmas Cards using this topper.

This is such a quick make you could easily make a few while sipping a nice cuppa - which is exactly what I am going to do right now!!

Sunday 25 November 2012

Paper Bauble Christmas Decorations

These paper baubles Christmas Decorations are extremely easy to make and a fun holiday project to get the kids involved with!

Paper Baubles

All you need is some colourful paper, paper rafia, three beads and whatever you have to decorate the paper baubles with.

Cut eight circles of the same size.  Fold each circle in half with the pattern or colour to the inside.  Glue one half of each circle to one half of another circle (making sure that the fold is nicely lined up) - this will form a spine.    Cut a piece of paper rafia about 30cm long, fold in half  and  hold against the spine so that 1/3  protrudes on either end.   Then glue the back half of the last circle to the front half of the first circle.

Paper Baubles

Push the top loop through a biggish bead.   Push the bottom ends through another biggish bead and then a smaller one - now tie together to pull the beads tight.    Cut 4 x 20cm pieces of raffia.   Tie these pieces down on top of the bottom bead.  Fold down and tie together with another piece of raffia about 1cm from the bead.   Knot and cut off.   Now decorate each of the panels as you like.

I have strung my paper baubles onto strands of plaited raffia, garden twine and kitchen string interspersed with beads.   I plan to use these  to decorate our lapa (outside thatch area) for the holiday season - I have bought a few strings of fairy lights which I am going to twist around some of the strands for a bit of Seasonal Sparkle!

Wednesday 21 November 2012

Paper Flower Christmas Wreath

I fully intended to make gift tags yesterday afternoon - but it was so hot and I still felt very flu-ey, so I plopped myself down in the lapa with a stack of magazines and a tall icy lemonade.

One of the magazines had some lovely ideas for using up paper scraps.    In one of the designs they use tiny punched flowers and leaves to make a Paper Flower Christmas Wreath on a card - very pretty.    I am down to my final heap of scraps - but I figured I would have to make about forty cards if I used such a small design, and I wanted a quick "final" make.

I decided to "upsize" the idea!


I drew  around the lid of a big cake tin onto a piece of sturdy cardboard (a cereal box will work quite nicely), and then around the lid of a smaller cake tin placed centrally inside the big circle to for the base of the Christmas Wreath.   Cut out the ring and punch a single hole fairly close to the outside circle - make a loop using twisted paper ribbon.

I made as many flowers as I could using the same technique as for the Poinsettia decoration HERE.   I also made as many shapes and sizes of leaves as I could with whatever bits of green paper and board I had left.   I then started by glueing the flowers to the board as closely as possible without squashing them too much.   I then started filling the spaces with leaves and small bows made from paper ribbon.    I then added a bit of bling in the form of some shiny red beads and some pearl beads.   I added big paper ribbon as the final touch to my Paper Flower Christmas Wreath.


Tuesday 20 November 2012

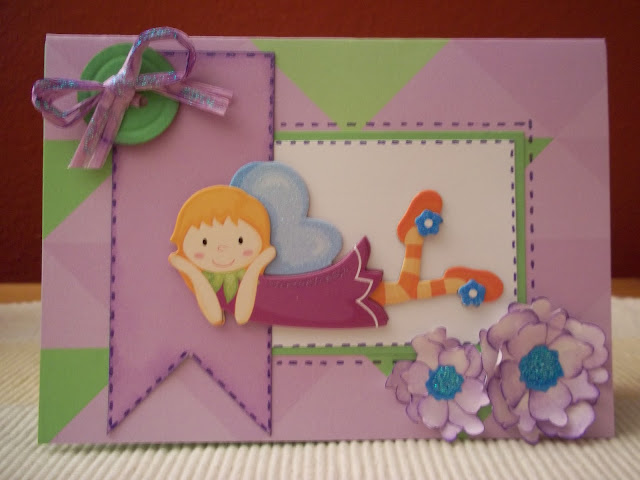
Fairy Cards - Bright Fairies

I  have finally finished making the fairy cards with the fairy stickers I bought......
 
Fairy Themed Cards

Just a quick tidy up of the craft room (again!) and then I will be making up a bunch of gift tags!   

Will post some quick makes to get you started on making your Christmas tags!

Monday 19 November 2012

Christmas Decoration: Poinsettia - Tutorial

Just one quick make for today - my youngest daughter caught a virus and she seems to have passed it on to the rest of the family (thanks for sharing little Owl)   So we are off to the doctor this afternoon - don't think much crafting is going to get done today!

This Poinsettia Christmas Decoration can be used to decorate boxes, gift bags, wrapped gifts and cards for Christmas.

All you need is a sheet of Red 80gsm A4 paper and some green, and yellow scraps (you can use green 80gms paper for the leaves too - I have used 160gsm project board tho').

Cut the Red paper into 2 squares of each of the following sizes 7.5cm x 7.5cm;   7cm x 7cm;  6.5cm x 6.5cm;   6cm x 6cm;  5.5cm x 5.5cm;  5cm x 5cm;    4.5cm x 4.5cm and 4cm x 4cm.   Fold each square in half (to form a rectangle) and then in half again (to form a square)   Cut a petal shape along the open ends of each square and fold out to form a flower shape as shown below:

Christmas Decorations

Start stacking the "flowers" from the largest to the smallest - applying a dot of glue on top of each one as you go, except for the very top one.


Punch eight circles from the yellow paper.    Glue these to the middle of the top "flower" to form the centre.   Cut four leaves from the green and assemble as shown on your box, bag or card.   Jazz them up with some glitter glue! 

Christmas Decorations

You can make this Poinsettia Christmas Decoration as big or as small as you like by varying the sizes of your squares.    

Have fun!

Sunday 18 November 2012

Fairy Cards

What a hectic day!

Between spending time with the family and packaging all my makes, I only managed to make two fairy cards from the stickers I bought!   

Fairy Themed Card

Paper Flowers
Hand cut flowers


Fairy Themed Card

Paper Flowers

By the way - for those of you intending to sell your makes - if you refold the gift bags they fit very nicely into the 150cm x 250cm cello bag.     I packaged all of mine (keeps them nice and clean from all the handling).

Fairy Stickers

Sunday Morning!    It is at least a bit cooler today and there is a lovely breeze.  I have thrown open all the windows and the sliding door in my craft room (papers blown all over the place etc!) to make the most of it!

I cheated a little yesterday - had to zoom over to the food hyper late afternoon as we were completely out of soft drinks and glue (soft drinks very NB for the family, glue very NB  for me!).    I can never hurry past anything in the stationery aisle - I pick up this and look at that!    Found the cutest little fairy stickers with the kiddies stationery - really inexpensive too!!


Thought I would be able to make a few nice cards if I mixed and matched them with some of the scraps I still have left (which I just don't seem to be able to finish).    We have brunch around 11h30 so I am going to see how many I can make before then!  

Saturday 17 November 2012

Handmade Cards: Quick and Easy

Another scorching hot day in Johannesburg!

Dad and son were playing Guild Wars last night - we all only went to bed at around two.   The gaming bug never got me - so I sat and made cards and chatted online with friends.

I have posted a bunch of easy card makes (still all from the bits and pieces I have left).

Leave me a comment if you would like help making any of them - but I think most of them are really easy to copy from sight.

Have a super crafty weekend!

Cupcake Themed Card
Pink and Yellow Cupcake Birthday Card

Cupcake Themed Card
Sprinkles Cupcake Birthday Card

Cupcake Themed Card
Multi-layerd Cupcake Birthday Card

Flower Themed  Card
Decoupage Flower with Side Bow

Envelope Style Card
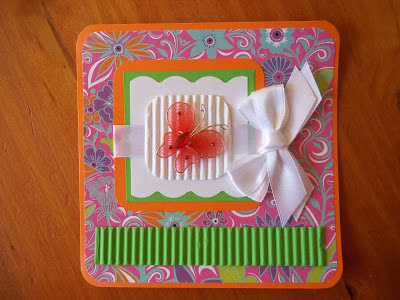
Bright "Envelope" Card

Butterfly Card
Jewelled Butterfly

Flower Themed Card
Bright Woven Card

Christmas Tree Card
Diamond Christmas Tree Card

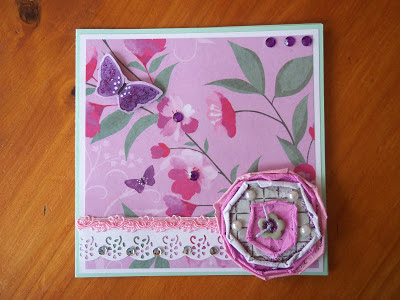
Crumpled Paper Flower Card

Fashion Card
Fancy Shoe Card
 
Purse Card
Handbag  Birthday Card

Fashion Card
Hat Card

Friday 16 November 2012

Handmande Gift Bags - Stencilled Butterfly Decoration Tutorial

My craft space is now tidy(ish).    I have assembled a number of gift bags which still need to  be decorated.

Stencilled Butterflies
Stencil used to decorate Butterfly Gift Bag

You can apply the same technique using any stencil you have available.

Stencil Tutorial
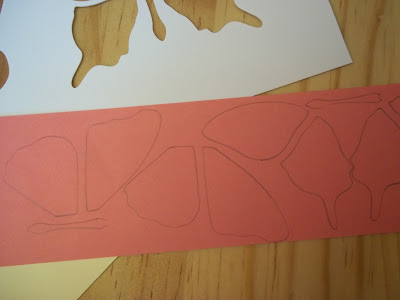
Stencil the design in pencil onto the back of patterned paper

I like to keep my scraps for just this purpose.

Stencilled Butterflies
Cut out and glue to coloured paper

Choose something that will show up nicely against the gift bag.

Stencilled Butterflies
Cut some circles from the same paper as the butterflies

  Glue onto the coloured paper.

Cut around the butterflies and the circles leaving a narrow border.

Border Strip

 Cut a border strip of about 1.5cm from a complimentary piece of patterned paper.

Glue all the elements to the bag  in an "organised" random  fashion.
I always place the heaver looking elements at the bottom of my project,
otherwise your design may look a bit top heavy and unbalanced.   

Doodle in some detail with a coloured marker or gel pen.
Finish off with a rafia bow (or a bow to match your handles)


Gift Bag
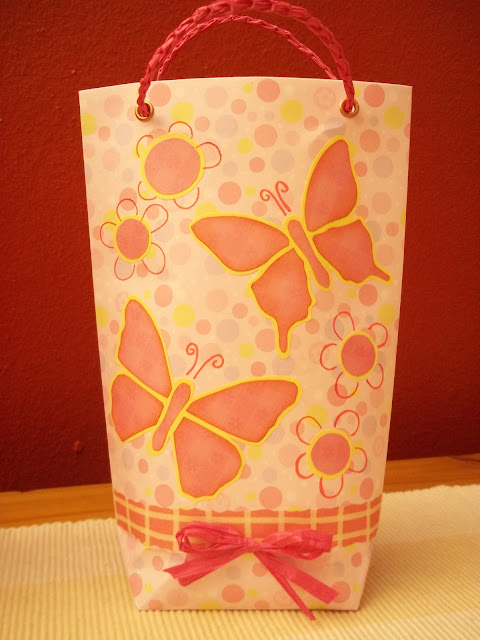
Pretty Butterfly Gift Bag!!

Have fun!!!!

I going to blog off now - we are experiencing a major electrical storm.   I think I might hide under my craft table with a cup of  tea and a craft magazine until its over!

Handmade Gift Bags - Summer Theme

It is extremely hot here in Johannesburg again.   I have been in and out of the pool all day, sipping lovely lemon iced tea in between dips - of course I haven't been very productive.

Made these two gift bags and a couple of gift bag blanks that I still need to decorate and finish.  Promised a Facebook friend this morning that I would post some more how-to's for easy decorations for the Gift Bags so I am going to start working on that as soon as I have tidied my craft space a bit.

Gift Bag
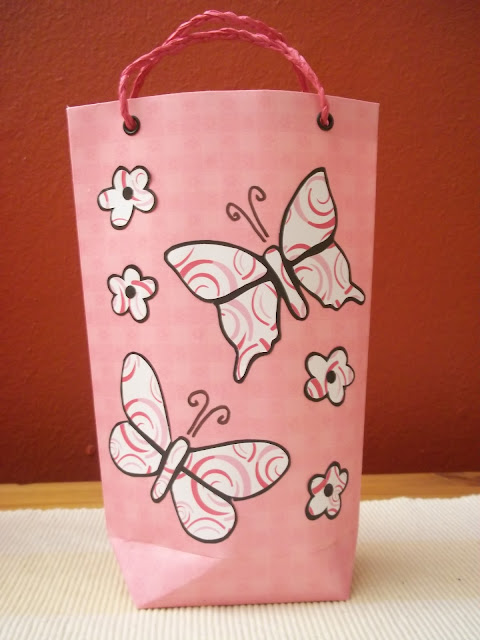
Stencilled Butterflies Gift Bag

Gift Bag
Picnic Basket Gift Bag

Thursday 15 November 2012

Handmade Gift Bag Tutorial

I love sharing my crafty makes with friends and family.   One thing that always alarms me is how afraid they are to try it out for themselves.   They always say "oh I'm not creative" or "you have to buy too many fancy things".

Yes, there is a fantastic range of  products available to the dedicated crafter but waaaay back when (before all these things became extremely fashionable and commercial) we had paper, scissors, glue. a ruler and colouring pencils.     If you have children you will most certainly have all of these items readily to hand.

I have wiped out most of my stash filling orders for Christmas - so my crafting cupboard is a bit bare.    I have been pretty much left with all my "ugly" stuff (especially papers with rather weird designs) as well as odds and ends of ribbon, and some embellishments I had not used up on the cards.  What to do - what to do?   I had vowed not to go out and splurge on stash until I had well and truly cleaned out the dregs.

Since I am making handmade gifts for all my friends this year - bath goodies for the girls, including a rather excellent handcream (recipe concocted  by a very dear friend's late mum) and sweet makes for the guys - I needed packaging.    And the easy peasy handmade gift bag was born!!

Gift Bag


All you need to make this gift bag is some patterned paper (30.5cm x 25cm); a ruler, a punch, a pair of scissors, some ring reinforcements, glue, a bit of rafia, string or ribbon and some masking- or cellotape

Cut paper to measure 30.5cm x 25cm

Make a fold of 1cm along one length (top of gift bag)

Fold the length in half - make a 1cm fold along one side

Fold on the half again

Fold up the overlap

Open out and cut the inside corners as shown

Spread glue on the inside and fold over

Fold the bag on the half and run your thumb over the fold over to secure.

Spread glue on the overlap - run thumb over to secure

Turn the top end of the bag away from you.

Make a fold of 5cm at the bottom end of the gift bag

Open the bottom end - push sides inward as shown

Flatten the seams with the handle of the scissors to get a nice neat fold

Fold the flaps over to meet on the original fold

Stick masking tape on the inside edge of one of the flaps

Fold over and press down to secure

Cover the fold with a piece of masking tape

Cut a 5.5cm x 4cm rectangle
Round the corners with a coin for a neat finish

Glue the rectangle over the masking tape

Use a punch to make holes in the top of the bag

Draw or trace an image to colour to decorate the gift bag
You can even use a cut out from an old greeting card or wrapping paper -
if you don't want to brave the colouring in.

Colour with pencils or copic markers

You could  add a bit of gltter glue for accent.
Frame with a matching or contrasting colour (I used black)

Rafia handles
Plait three strips of rafia to make two 20cm strips.
Tie a double knot in one end

Handle placement
 Thread the unknotted end from inside to outside first,
Now thread the unknotted end outside to inside.
Tie a double knot on the inside.   Repeat on other side.
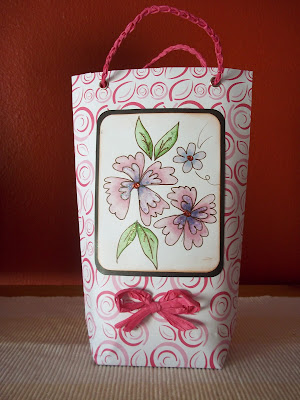
Gift Bag

Voila - you have a Gift Bag
   Put your hand inside the bag to "pop" out the bottom.
And there you have it - a one of a kind gift bag!!!!

 See how creative you are!!