This Granny Square Hippie Jacket is made up of:
Four rectangular panels - back, left front, right front and hood; and
Two square panels - left and right sleeves
Yarn:
Elle Pullskein DK, Stylecraft Special DK, Elle Charity Variegated DK (approximately 800g in total)
Hooks:
4.00mm and 3.50mm
Terms:
US
Extras:
2 large buttons
Sizes:
M-L (S)
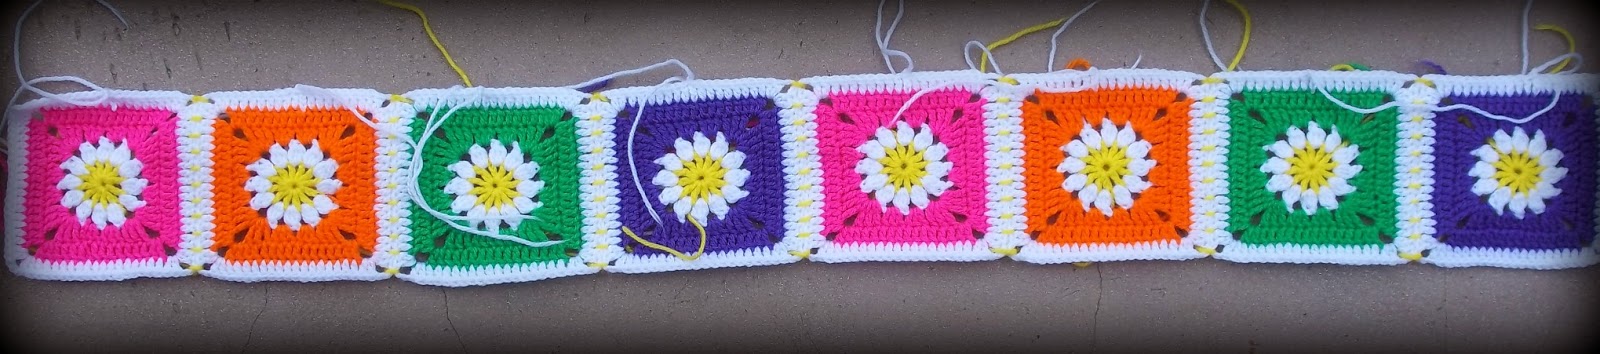
Square Sizes:
14cm x 14cm = 7 rounds (12cm x 12cm = 6 rounds)
Back Panel
The Back Panel is 4 squares wide and 5 squares long
M-L size = 56cm x 70cm
S size = 48cm x 60cm

Front Panel
Both Front Panels are 2 squares wide and 5 squares long
M-L size = 28cm x 70cm
S size = 24cm x 60cm
Note: I have given my jacket a "v" neck by substituting a Half Granny on neck edge of each front panel. I have indicated the joins for either a granny square (for a more closed neckline) or a half granny (for a v-neckline)

Sleeves
Both Sleeves are 3 squares wide x 3 squares long
M-L size = 42cm x 42cm
S size = 36cm x 36cm

Hood
The Hood is 3 squares wide x 2 squares long
M-L size = 42cm x 28cm
S size = 36cm x 24cm

(Somebody had asked for square patterns - there are a few on my blog if you would rather follow a pattern for your squares: RAINBOWS AND DAISIES SQUARE; CIRCLES IN SQUARES; EIGHT PETAL GRANNY SQUARE;)
Should you choose to make a V-neck as I have done here is a quick pattern for a
SOLID HALF GRANNY:
Row 1: 4ch: into first chain 2dc; 3ch, 2dc, 1ch, 1dc
Row 2: 4ch turn, 2dc
into 1ch sp; 1dc between each dc on
previous row; 2dc, 3ch, 2dc into 3ch sp
(point formed) 1dc between each dc on previous row; 2dc into 1ch sp; 1dc
Row 3: 4ch
turn, 2dc into 1ch sp; 1dc between each
dc on previous row; 2dc, 3ch, 2dc into
point; 1dc between each dc on previous
row; 2dc into 1ch sp, 1dc
Rows 4 - 7 (M-L); 4 -6 (S) -
Repeat Row 3
Now join the panels as per the diagrams:
First join the left and right front panels to the back.
Next join the sleeves - half to the front panel and half to the back panel for each sleeve.
Form the sleeve by joining along the open "bottom" end of the square
close the side seams of the jacket by joining left front panel to left back panel and right front panel to right back panel.
Edging
With the outside (right side) of the jacket facing work three rows of double crochet using the 4.00mm hook.
With the inside (wrong side) of the jacket facing work one row of half double crochet using the 3.50mm hook.
Row 1: 1dc into top of each dc. When reaching a join - 1dc into corner 1dc into join stitch 1dc into corner, into the two corners (left and right front bottom) 2dc, 3ch, 2dc
Row 2 : 1dc into each dc; 2dc, 3ch, 2dc into each corner
Row 3: repeat row 2
Note: If you are making a v-neck crochet 2dc into each post on the diagonal of the half granny
Row 4: With the inside (wrong side) of the jacket facing work one row of half double crochet using the 3.50mm hook - 1hdc into each dc, into corners 3hdc.
Around the sleeves work 5 rows of single crochet using the 4.00mm hook and alternating right side / wrong side
Tip: If your tension is inclined to be a bit loose or uneven use the smaller hook for the entire edging - this will give you a neater finish.
Fastenings:
Make 3:
Ch 4, ss to join
Row 1: 3 ch (counts as 1 dc), 9 dc into circle (10 dc), ss into top of 3ch to join
Row 2: 2ch, 1hdc into top of dc; *2dc into top of dc* rep *to* 4 times (10hdc); 12ch; 2dc into top of dc* rep *to* 5 times (10 hdc) - 20 hdc with a 12ch loop in between

Make 3:
Ch 4, ss to join
Row 1: 3 ch (counts as 1 dc), 9 dc into circle (10 dc), ss into top of 3ch to join
Row 2: 2ch, 1hdc into top of dc; *2dc into top of dc* rep *to* 9 times (20hdc)
Note: I only used two fastenings.
Work the loop fastening onto the right front panel edging of the jacket (space them as you are comfortable)
Work the circle fastenings onto the left front panel edging of the jacket (in line with the loop fastenings)
Work your buttons onto the circle fastenings!
Weave in all ends securely and you are DONE!!!
EDIT
Just a few additional things I thought of:
I never actually wear the hood - mine just keeps my neck warm and I like the way it looks. If you actually wear the hood you may want to make it a bit roomier by crocheting a few extra rows along the width before you work it on to your jacket.
I have also had a lot of ladies asking me how to make the pattern bigger:
For an XL make your squares 16cm x 16cm
For an XXL make your squares 17cm x 17cm
For an XXXL make your squares 18cm x 18cm
Do not do this for the sleeves - otherwise you are going to sit with ridiculously long sleeves.
Increase your sleeves by crocheting the extra rows down the sides of your joined squares:
For an XL - 6 rows on either side
For an XXL - 12 rows on either side
For an XXXL - 18 rows on either side